
I am a bit behind the eight ball this morning, but you can bet that I wasn't missing a chance to linkup for Project Pinterest this week. It's only week four, but I already love sitting down with my cup of coffee and perusing the weeks' projects in search of new ideas and inspiration!
Since I haven't completed my newest project yet, I decided to share a project that B helped me with earlier this year. It is one that we use all the time, and has become a favorite in our house.
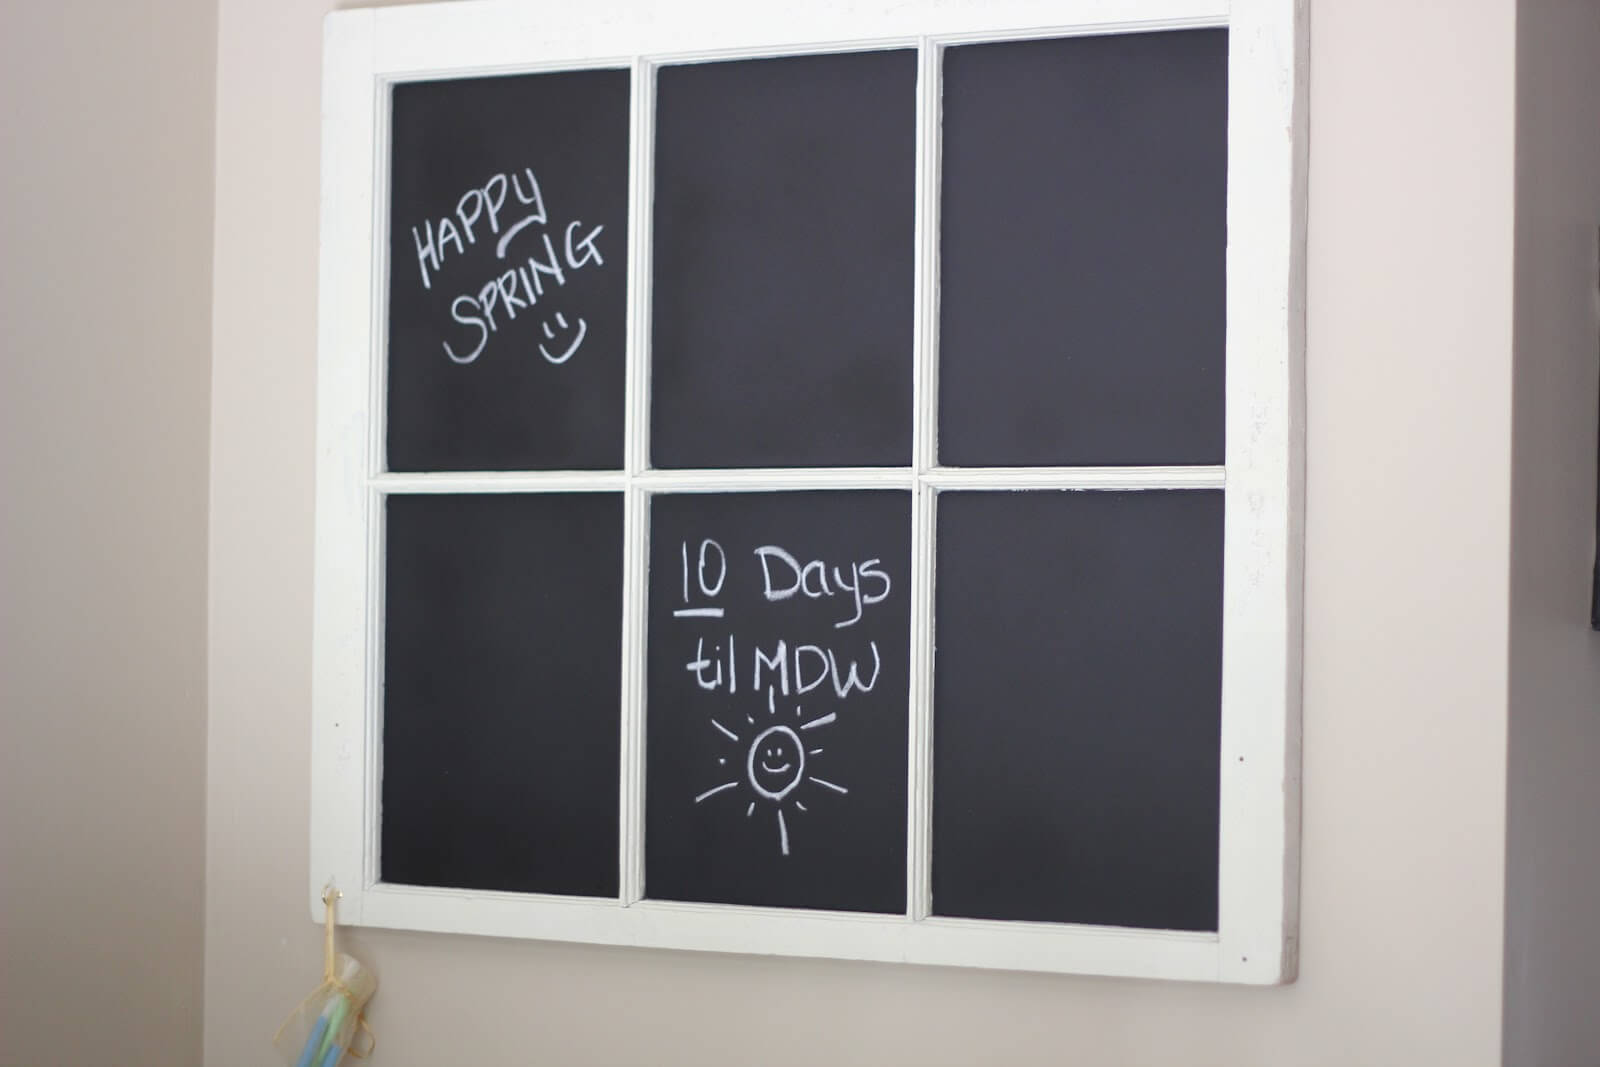
DIY Kitchen Window/Chalkboard Project
I have been living in a DIY frenzy lately. Typically, I line up 5-6
projects that I'd 'like to do, and then a month will go by before I
realize that I've only completed one of them. Darn you, Pinterest.
My inspiration for this pin came from here and here. I was gifted, by one of my dearest friends, with an old farm house window to use for my window/chalkboard project. I have always wanted some type of chalkboard in my kitchen. Something I can use to post notes to B, reminders, weekly meals, and eventually, something I can use with our kids.
I finally got around to starting this project, and by starting it, I
simply mean that I recruited my handy husband to help with the sanding,
taping and spray painting.
We used a sanding block around the rough edges to get rid of some of the old paint that was on the window, then sprayed all of the trim you see below with a fresh coat of ivory colored spray paint.
We used a sanding block around the rough edges to get rid of some of the old paint that was on the window, then sprayed all of the trim you see below with a fresh coat of ivory colored spray paint.
We allowed this to dry for about a day, then took the paper/tape combo
that we had used to cover up each window pane off, and taped the wood
trim for good coverage.
I was a bit nervous to see how evenly the sprayable chalkboard paint was going to come out. I bought the Krylon brand on one of my many trips to Hobby Lobby.
I was a bit nervous to see how evenly the sprayable chalkboard paint was going to come out. I bought the Krylon brand on one of my many trips to Hobby Lobby.
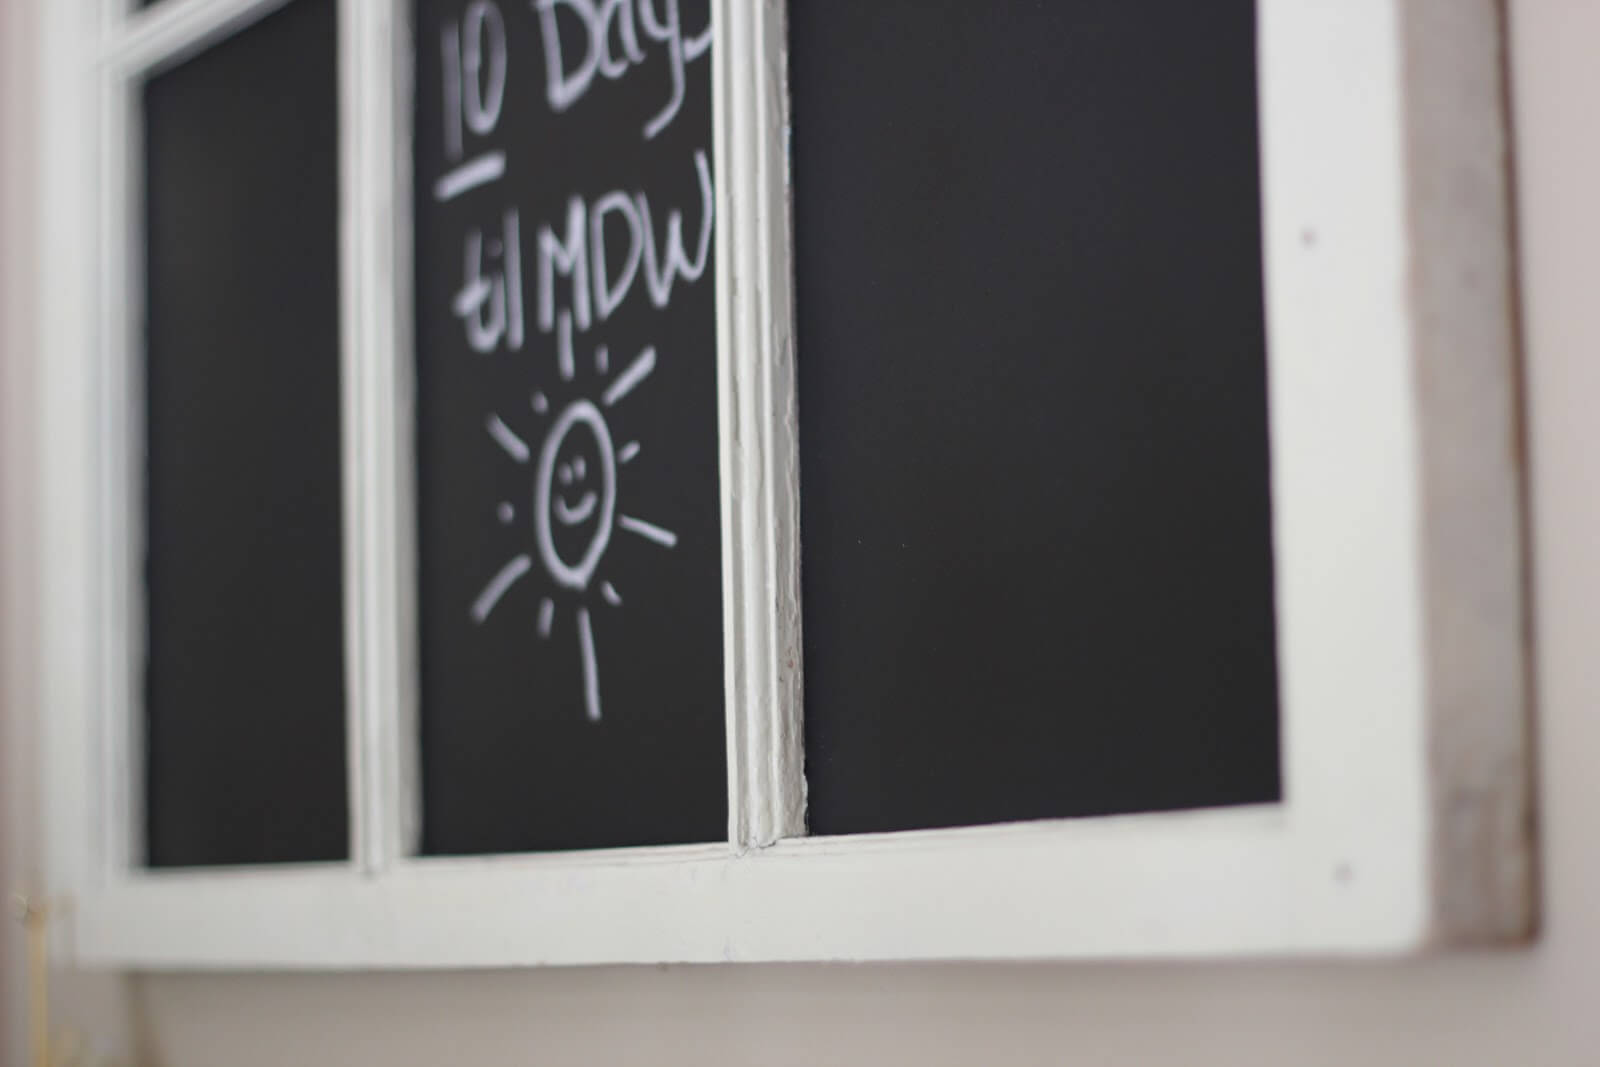
I would definitely recommend this paint. We used two coats, but I felt
like it sprayed on easily and evenly, and it's a great surface for
writing now! We also gave the chalkboard paint a day to dry really well
before we tried anything on it.
Then, we attached some picture hanging hardware to the back of the window, and voila!
Then, we attached some picture hanging hardware to the back of the window, and voila!
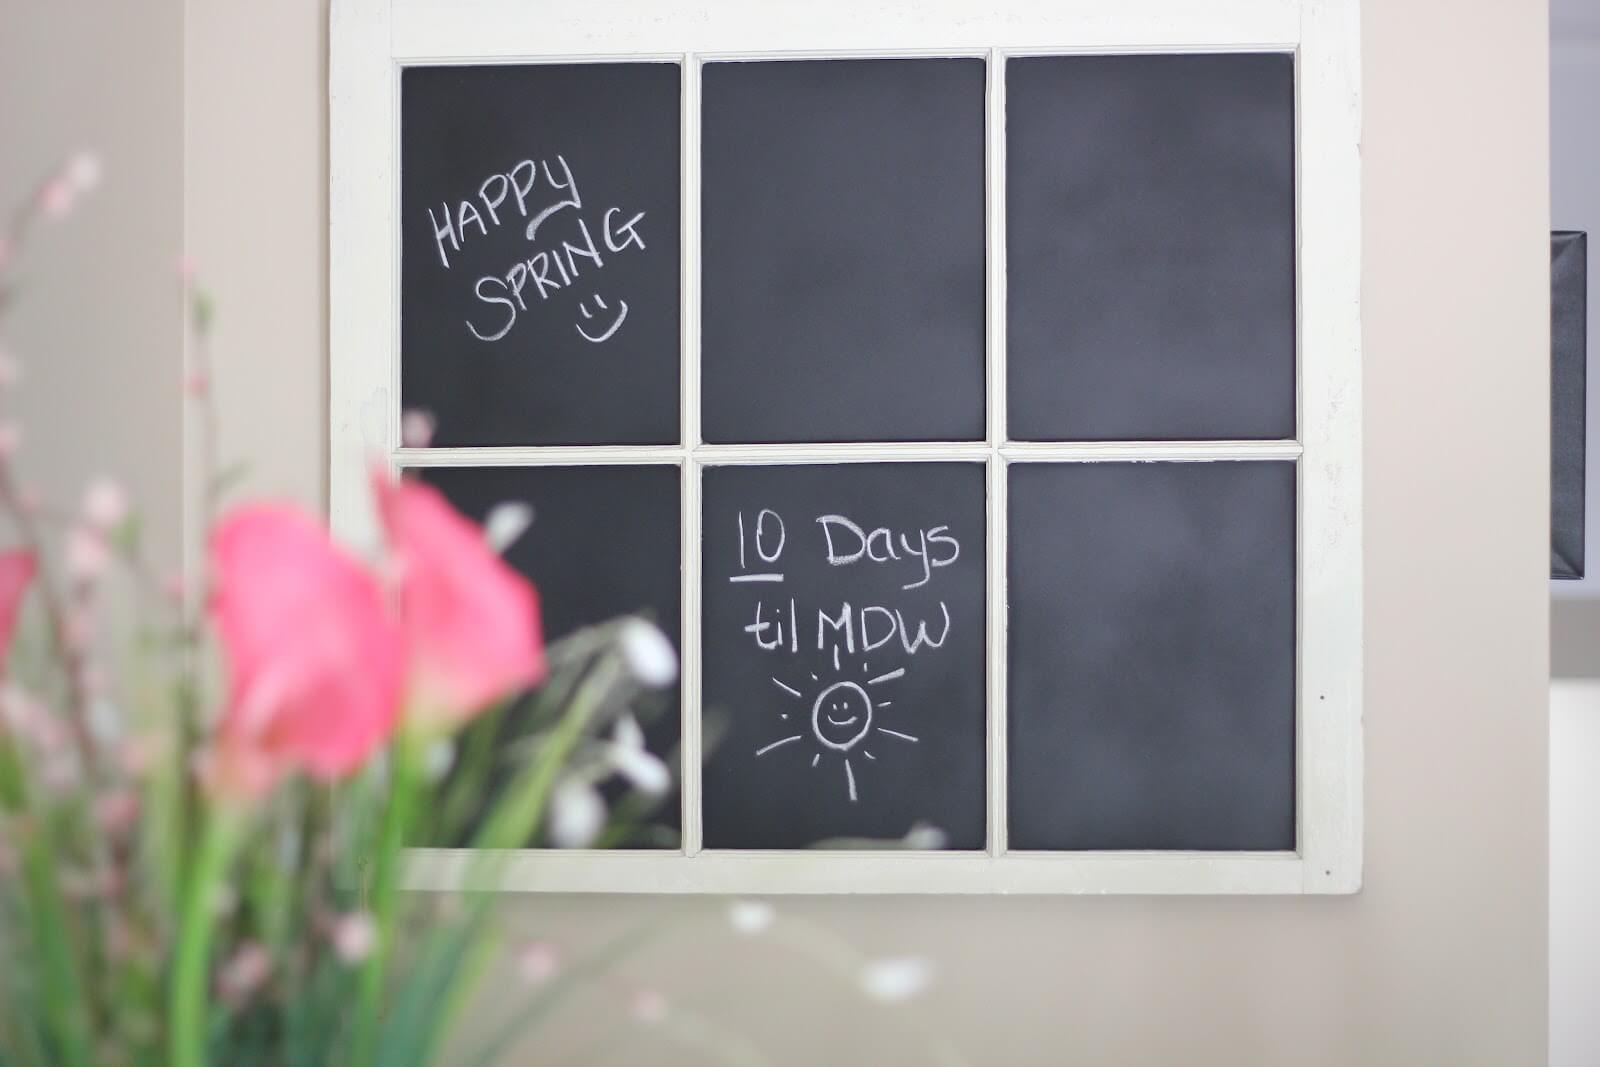
I just love the way this project turned out. It adds so much character
to my kitchen, and makes a nice, bold statement as well. If you are
interested in a chalkboard for your kitchen, I would definitely
recommend grabbing an old window from an auction, etc. because I think
the style and size is the perfect fit!
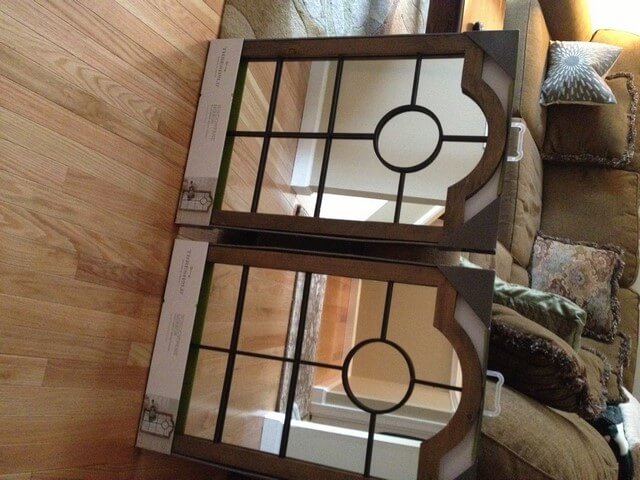
Make sure to check back next week, when I will finally finish the project that I have in mind for these new beauties that I scored at Target last week!
8 comments:
Oo, I like the look of this! I can't wait to see yours.
Love it!! Can't wait to see what you do next week!
We both must have had chalkboard on the brain this week! Yours is super cute!
Love it!! Looking forward to seeing what you are up to next :)
this turned out so cute!! love that!
Great idea!
<3 Dana @ This Silly Girl's Life
when i saw this pop up this morning, i was all "wait, am i having deja vu?" ha! you know i love it! thanks so much for linking up! ;)
Such an awesome DIY! I think I must try it next weekend :)
xo Shane
Post a Comment