My sistah-in-love and I had a throwback craft day a few weekends ago, and chose three projects to tackle:
I didn't snap many pictures of the framed wreath, so I'll just give you the details on the berry letter and ornament wreath.
Berry Letter
What You'll Need
1 10-12" wooden (or metal) letter
About 5-6 large sprigs of red berries
Glue gun and glue sticks
Burlap or gold ribbon of your choice
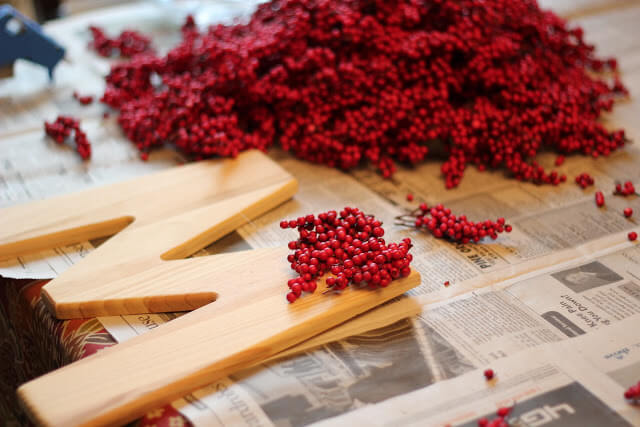
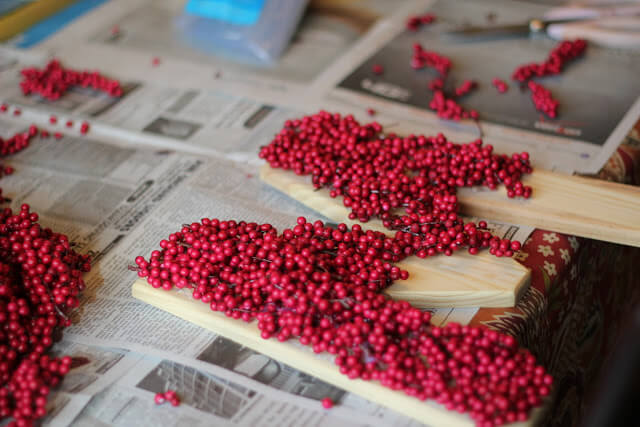
Begin by cutting all of the berries off of the sprigs. We cut ours into small bunches or thin lines of continuous berries. Once you have the berries prepared, begin gluing small sections of them down onto the letter. I started at the top and worked down one side at a time. Continuing gluing section until the entire letter is covered evenly. You may even want to trim a section of berries down to just 1-2 berries to fill a small hole.
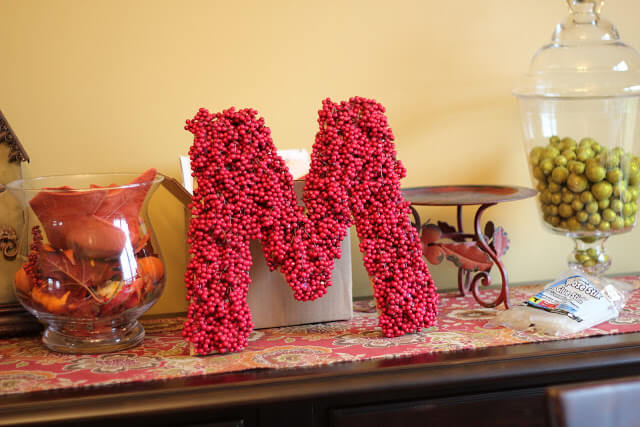
Because our last name begins with "M," it was a bit more challenging to attach the ribbon. I just cut two equal length pieces and attached one to each top section of the "M." Then, I created a simple bow to place that the top and hung it on a nail to dress up my dining room!
| Sorry about the quality - it's from my old phone! |
Ornament Wreath
What You'll Need
One 10-12' styrofoam ring
Glue gun and glue sticks (lots!)
About 50-70 various sized ornaments
Red ribbon of your choice
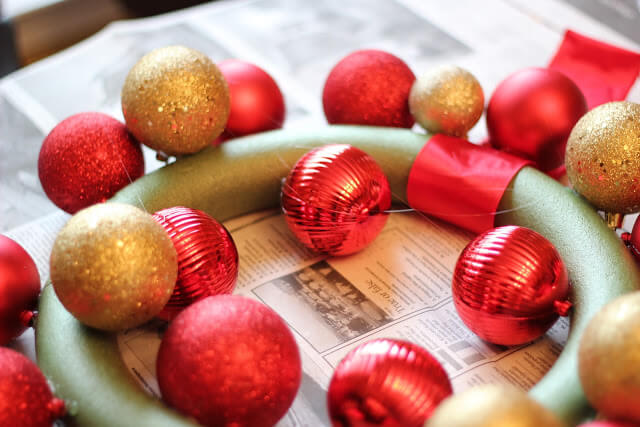
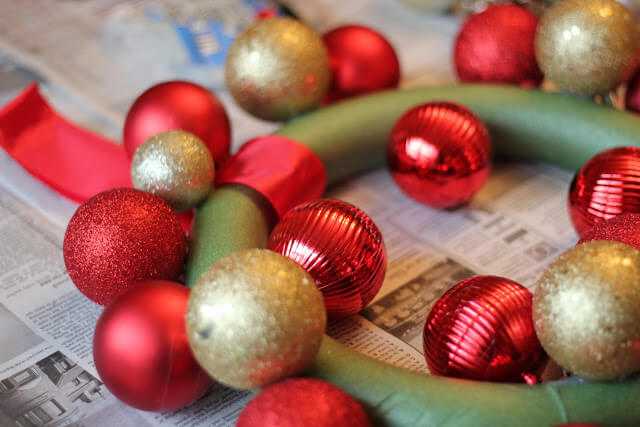
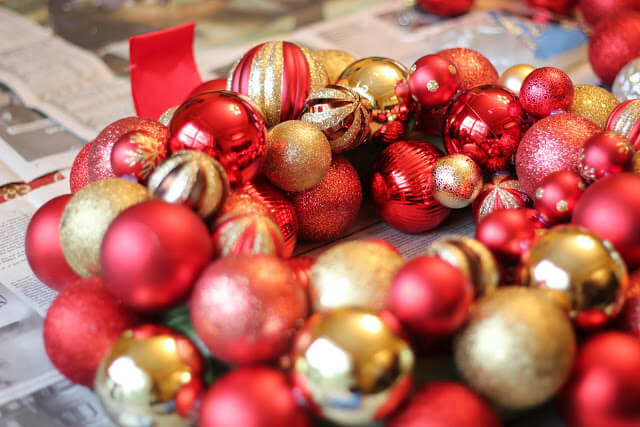
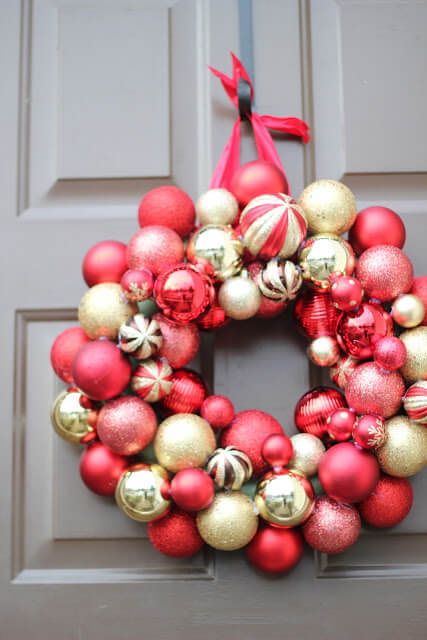
Begin by gluing an even layer of your large sized ornaments along the outside of the foam ring in a pattern that you like. From there, I just kept gluing large and medium sized ornaments until I had only room enough left for the smallest ornaments we had. I went with a red and gold theme, and am thrilled with the way it turned out!
We ended up wrapping two separate strands of ribbon through the back of the wreath, and gluing them together at the top in order to use the ribbon as the hanger for the wreath. And, it shouldn't come as much of a surprise that I haven't completed mine with a bow yet. My Mom is all crafty like that, so I'm thinking about asking her to make one for me?!
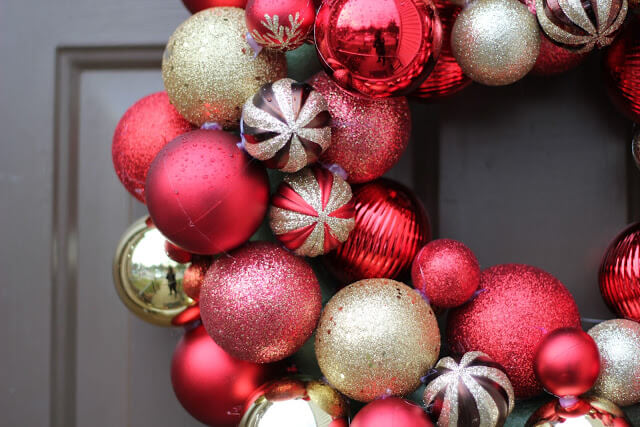 |
| Excuse the excess glue you can see this close up, I never said I was a perfectionist with my crafts :o) |
So, there you have it, a few adorable and pretty simple DIY holiday crafts that even I could do on my own! Well, mostly. Let's just said that this has given me the confidence to start trying out other projects as well. So, back to pinning I go!

4 comments:
LOVE!
I couldn't find ANY letters at Michael's on Monday. So sadz...hoping to try again this weekend! I really want to do the berry wreath - nice work!
Great projects!! They look fabulous!
these are awesome! i always want to do the ornament one but the berry one looks super cute! :)
How pretty! I bought a wreath this year, but I pinned yours for next year! Really nice!
Happy weekend!
xo, Ana
Post a Comment