
By now, you should know that all most of my DIY projects are born on Pinterest. Once we bought a house, the crafting bug hit me, and it seems like it may be here to stay. I love having a long list of DIY projects I want to try, and dressing up my house 'on the cheap' never gets old.
One of my latest projects started with this pin. Now that I work at home, and have created my very own office space in the room that will likely, someday, be converted into a nursery, I can finally have the style and functionality in my home office that a cubicle never would have given me.
I also tend to be a 'papers' person. When I say this, I mean that I sort of hoard papers. Papers used for note-taking, post-its that have been scratched on, etc. They may be straightened into a nice, neat pile, but they're still always there. Now that I've admitted I know this about myself, I had to come up with a solution. Once I saw this DIY corkboard, I knew this was the perfect start.
DIY Fabric Corkboard Tutorial
What You'll Need
One (1) cork/bulletin board in the size and finish of your choice
1/2 - 1 yard of fabric (again, your choice! I went with something fun)
About 200 silver thumbtacks (this will vary with size of board)
Glue gun
Several glue sticks
Begin by choosing your board. I chose to reuse an old fabric one that my parents were getting rid of. I scurried off to Hobby Lobby one afternoon, and bought 1 yard of this gorgeous orange fabric.
Next, wrap your fabric completely around your board, pulling tightly towards the back. Here is where you can cut off any excess fabric. I chose to wrap the back of my fabric sort of like it was a present that I was wrapping with wrapping paper. This gave it a simple, folded look in the back. I then glued each side down tightly, and added extra glue to those places that had extra fabric hanging around.

Now, is the fun part. I had to break up this next part over two days because it started to hurt my thumbs so much! Begin adding your silver thumb tacks, starting from a corner, in a straight line to create a 'nail head border' around the entire perimeter of the board.
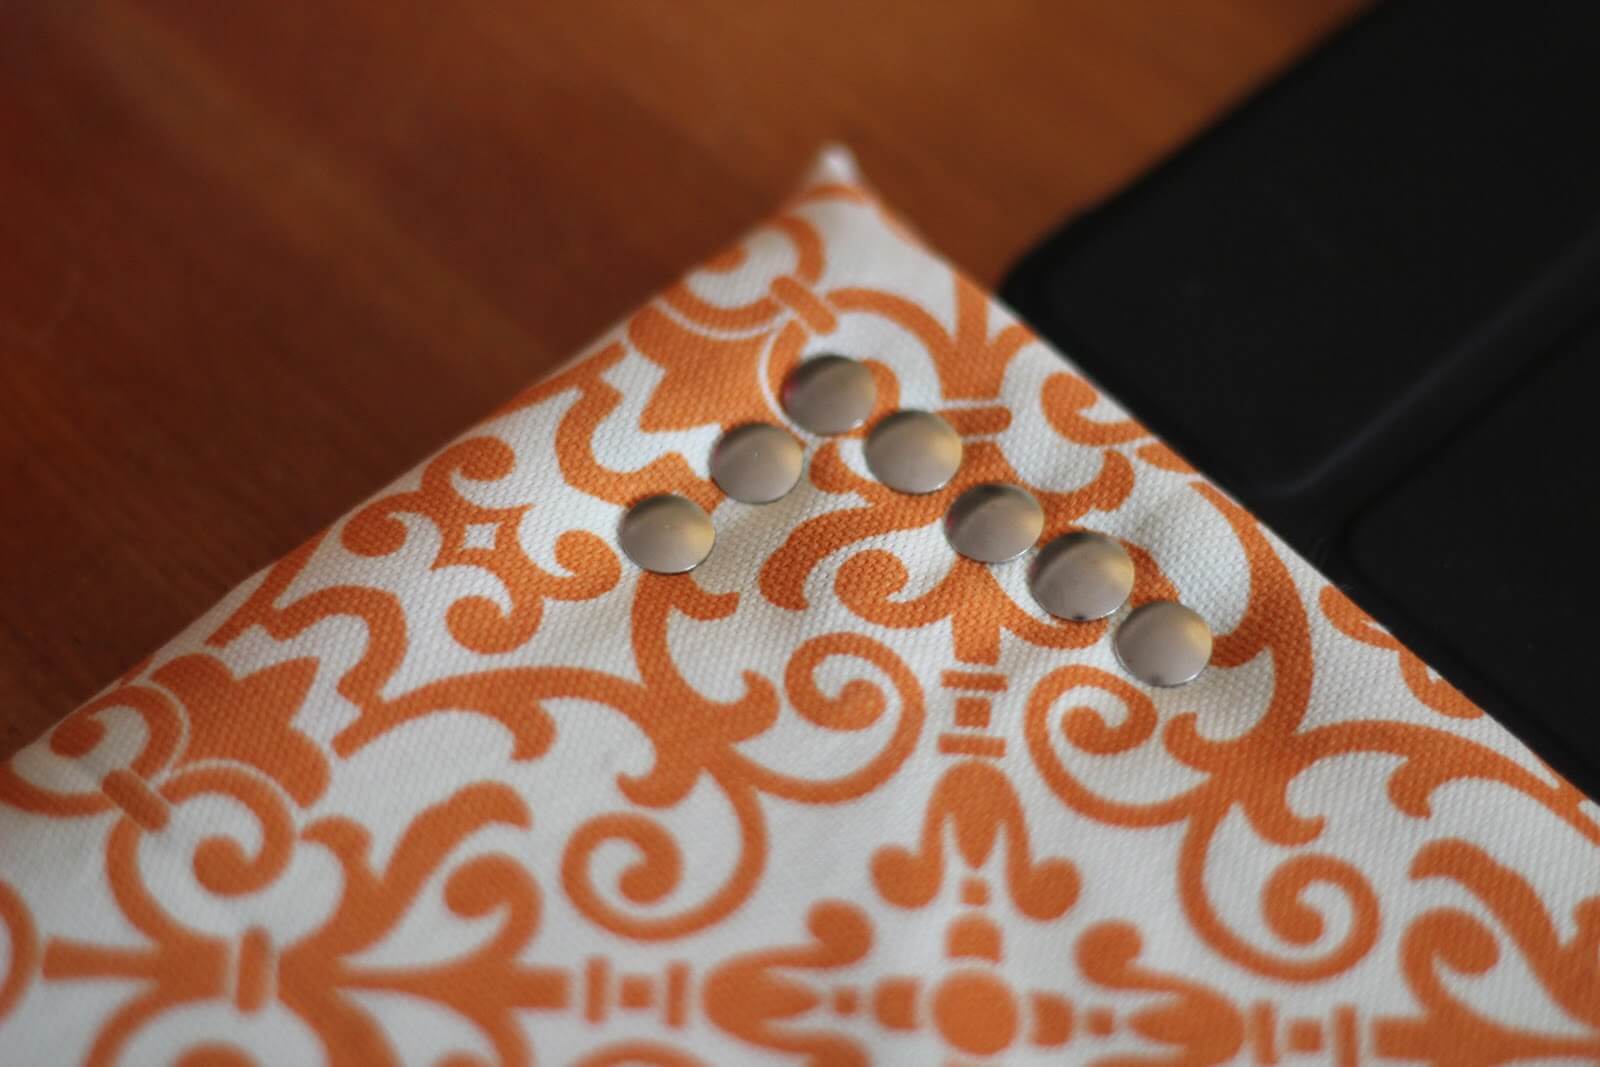
Continue this process until you create a complete border. I left about 1/2-1 inch of space between the edge, and my thumbtack border. Don't get frazzled if you need to take multiple breaks. Believe me, I did.
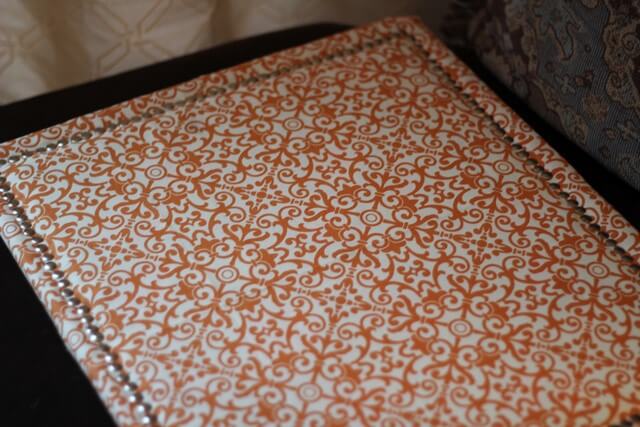
Once your border is complete, and you're happy with the way the front of the board looks, just add simple picture hanging hardware to the back of the board, and voila!
I hung my board on the upper left wall of my desk, so it's not the focal point of the room, but I still have easy access to it when I'm at my desk. I love the way it came out! It definitely dressed up my office a bit, and gave me the pop of color that I was looking for!
Hope you all have a fabulous weekend!
Don't forget to enter my Stella & Dot giveaway before the 15th!
5 comments:
This looks great; I love the color and pattern!
Have a great weekend girl!
This is adorable....very cute!!
cute! i love it!
Um I love this. Totes copying you!
LOVE the color and the grommets! I think grommets are my new fav thing! haha You should totally enter this project into Craftbaby's DIY a Corkboard Challenge! :) http://www.craftbaby.com/contests/20/diy-a-cork-board
xx
Candie
Post a Comment