
This may have been my most time-consuming DIY project ever. But in the end, it was worth it. I had seen this pin a few months back, and fell in love with it. I immediately stuck it on my 'do someday' list, and hoped that it would come to fruition some time over the next six months.
Well, I was feeling under the weather last weekend, and decided that a lazy Sunday on the couch was the best day to get it started. Finally.
Keep in mind that I spent the better part of my day, on and off, gluing the pearls down, and when all was said and done, I probably glued close to 2,000 pearls on this sucker. But, I just love the way it came out!
DIY Decorative Pearl Wreath
What You'll Need:
One 10-12" round, foam ring
2 Rolls of satin ribbon (your choice; I used a simple white to blend in well)
10-15 bags of multi-sized craft pearls
** I used three different sized pearls. I would say I had about 35-50 of the largest size, about 350 of the medium size and upwards of 1,500 small pearls.
Decorative or colored ribbon of your choice for hanging
Hot glue gun
Lots of glue sticks (I went a little crazy with the glue!)
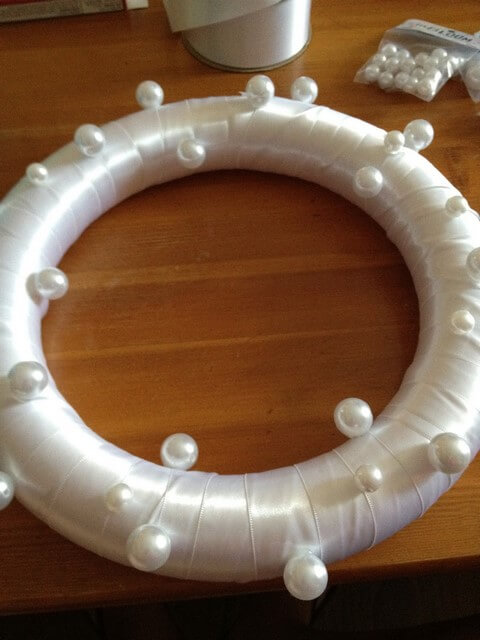
Begin by wrapping your foam ring with your satin ribbon. I used about a whole roll of ribbon from Hobby Lobby. Once you have the foam ring completely wrapped, glue down the ends and check for any wrinkles or loose edges.
Once I had added all of the largest pearls, I opened up my first bag of medium pearls and just zoned in.
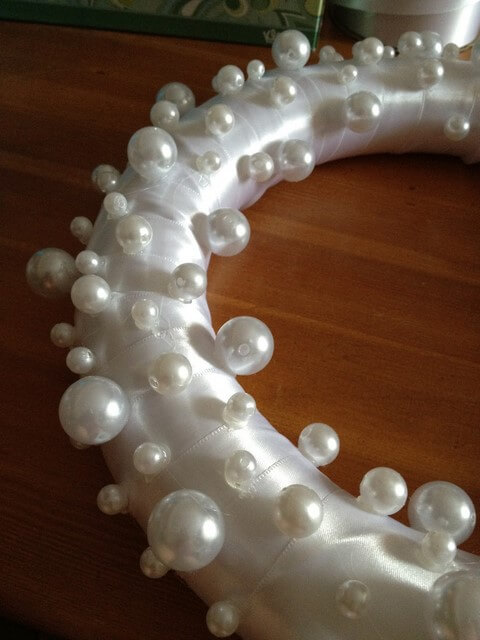
After this, it gets pretty repetitive. I suggest doing this project with a bottle glass of wine, and taking frequent breaks.
Pretty soon, your wreath will begin to look like this ...
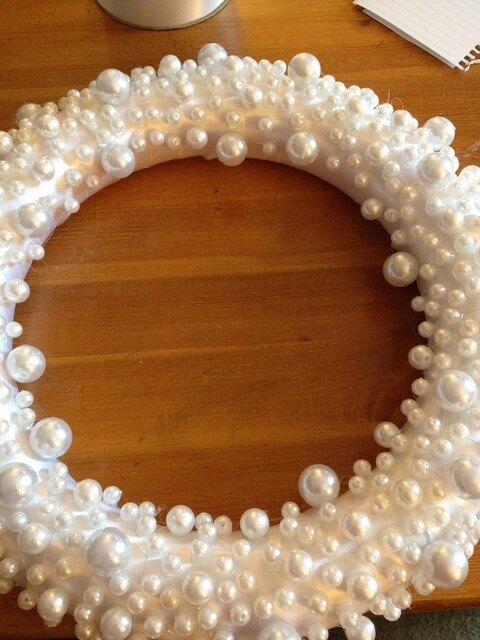
When I got to this point, I thought about quitting, but I just pushed through it. And watched about 3 episodes of Keeping Up With the Kardashians to keep me 'company.'
About 750 pearls later, my wreath was complete. I had leftover lace and hot pink ribbon, so I used a strip of each, and I love the way the texture and color for with the pearls!
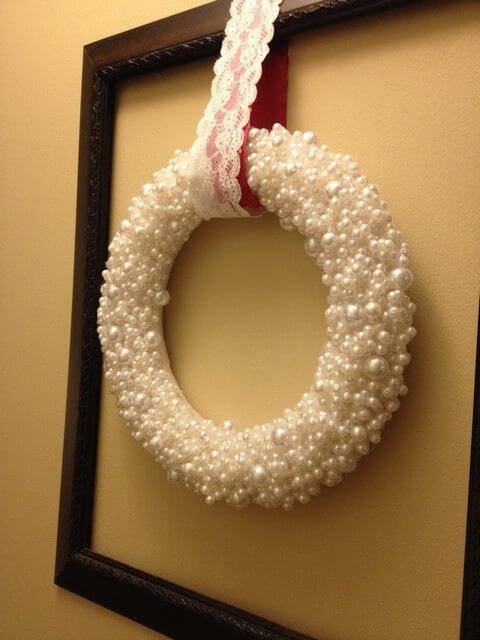
This wreath is simple and elegant, and I think it will be great to get us through the fall and maybe even into winter.
10 comments:
That is so pretty!!! That'd be nice for a wedding, Christmas and add in a few gold pearls and it SCREAMS new years!
This is awesome! I love how it looks although the gluing has me a little intimidated. Gives me an excuse to finish Felicity on Netflix!
LOVE this!!!! I think I'll make one after the wedding madness is over!
Oh wow that turned out great!!
SO pretty!!!!!!!!!!!! :)
It looks SO good and a LOT of work! I may have to do this for Christmas this year...
I just love the pearls! I think it would look great with Christmas decorations, too! Way to go! I would've given up on it. ADHD over here..... :)
This is gorgeous! Though if it were me, I probably would have just stopped after the ribbon, haha
Oooh love this! I'm such a pearl girl--this would be perfect in my house :) Thanks for the tutorial.
I pinned this wreath as inspiration for our wedding, but we ended up hiring a coordinator to take care of the decor. It's gorgeous though, and yours looks awesome!! Props on having the patience it takes!! :-)
Post a Comment